
Regular care and maintenance helps protect the visual grade, stability, and structural warranty of your glulam components.
As a natural product, glulam may develop surface checks, glue line checks, or minor splits over time. Most minor defects can be successfully repaired if they are done promptly to prevent moisture getting into the timber. Regular inspection and timely repair are critical to maximising the appearance and long-term life of your glulam.
Care and Maintenance
Find more detailed guidelines for glulam:

Care of Glulam Timber
Glulam timber requires regular inspection and maintenance to ensure long-term performance and appearance.
Your selection of coating and colour, such as paint or a penetrating oil, will have implications for the amount and frequency of care that is required.
Early detection and repair of any issues will help prevent moisture ingress and extend the life of both the coating, and the visual and structural performance of the timber. Moisture ingress can accelerate timber movement, enlarge existing defects, and increase the extent and cost of future repairs.
1. Inspect regularly: Inspect all exposed glulam members at least annually, and more frequently in harsh or coastal environments.
During inspections, check for:
Coating deterioration, including:
Drying, fading, or weathering of penetrating oils
Cracking, flaking, peeling, or blistering paint systems
Areas where the coating has worn through or become damaged
Timber checking and cracking, paying particular attention to:
Ends of members
Notches and rebates
Service penetrations and drilled holes
Bolt holes, slots, and connection details
Any locations where water may collect or be retained
Fixings and connections, ensuring:
Bolts, screws, and brackets remain secure
No signs of movement, loosening, corrosion, or water-related damage around connection points
2. Maintain coatings - Protective coatings are the primary defence against moisture ingress and weathering, and should be maintained in accordance with the coating manufacturer's recommendations.
General maintenance includes:
Cleaning surfaces to remove dirt, mould, and contaminants
Reapplying penetrating oils when the surface begins to appear dry, faded, or less water repellent
Recoating paint systems when signs of wear, cracking, or loss of adhesion become evident
Ensuring all exposed surfaces, especially end grain and connection details, remain adequately protected
Always follow the coating manufacturer's specified maintenance intervals, preparation requirements, and application instructions
3. Repair promptly - Any damage to the coating or timber should be repaired as soon as it is identified.
Prompt repairs help:
Prevent moisture from entering the timber
Reduce the likelihood of further checking, splitting, and weathering
Minimise long-term maintenance costs
Preserve the structural integrity and appearance of the glulam member
Where coating damage has occurred, prepare and repair the affected area in accordance with the coating manufacturer's recommendations. Any timber defects, splits, or areas vulnerable to water ingress should also be addressed promptly to prevent the issue from worsening over time.
A Simple Rule
Inspect regularly, maintain coatings as recommended, and repair any damage promptly. Preventing moisture ingress is the most effective way to maximise the lifespan and appearance of your glulam timber.
How to assess glulam timber damage
Step 1 - Inspect the affected area to identify the type and extent of damage
Before carrying out any repair, inspect the affected area and identify the type and extent of damage.
Common defects include:
Impact damage, dents, gouges, and localised timber damage
Surface checking caused by seasonal moisture changes and drying
Glue line checking between adjacent laminations
Splits extending deeper into the member
Pay particular attention to defects located near:
Beam and column ends
Notches, rebates, and slots
Bolt holes and service penetrations
High-load bearing areas and connections
Step 2 - Assess glue line checking for extent of damage
Where glue line checking:
Exceeds approximately 30% of the beam width,
Extends through multiple laminations,
Appears to be increasing in size, or
Raises concerns regarding member performance,
The defect should be assessed by a structural engineer or other suitably qualified professional before repairs are undertaken.
Where glue line checking:
Extends less than approximately 30% of the beam width
Repair using epoxy of minor glue line checks may be suitable.
Step 3 - Assess timber splits for extent of damage
Full-width splits or deep timber splits can affect the structural performance of the member and should not be treated as a cosmetic defect.
Where significant splitting is observed:
Record the location and extent of the split.
Protect the affected area from moisture ingress where practical.
Continue monitoring for any increase in length or width.
Obtain assessment from a structural engineer or qualified building professional to determine an appropriate repair strategy.
The repair method will depend on the size, depth, location, and structural significance of the split.
Step 4 - Seek professional advice if unsure about structural significance of damage before proceeding with repair
If there is any doubt regarding the structural significance of the damage, seek advice from a structural engineer or qualified building professional before proceeding
How to repair minor glue line and surface checking with epoxy
Our preferred method of repair for visual defects such as minor glue line and surface checking is to use a quick setting epoxy. Epoxy soaks into the timber grain, drawing itself into the root of the checking or split fibres, providing a deep structural connection and sealing from moisture at the same time.
Here are the steps in an epoxy repair of glue line and surface checking.
Step 1 - Identify the area and ensure it is clean and dry.
Identify the areas to be repaired. In the photos, you can see examples of glue line checking running vertically and surface or seasoning checking.
Glue line checks should be assessed to determine how deeply they penetrate into the member. Epoxy repair is suitable when checking is less than 30% of the beam width.
Ensure the timber is dry as possible. e.g. repair during dry weather.
Apply masking tape around the area to be repaired if the whole area will not be re-coated. This is to limit the impact on the surrounding coating, especially if it is a repair to a painted surface.
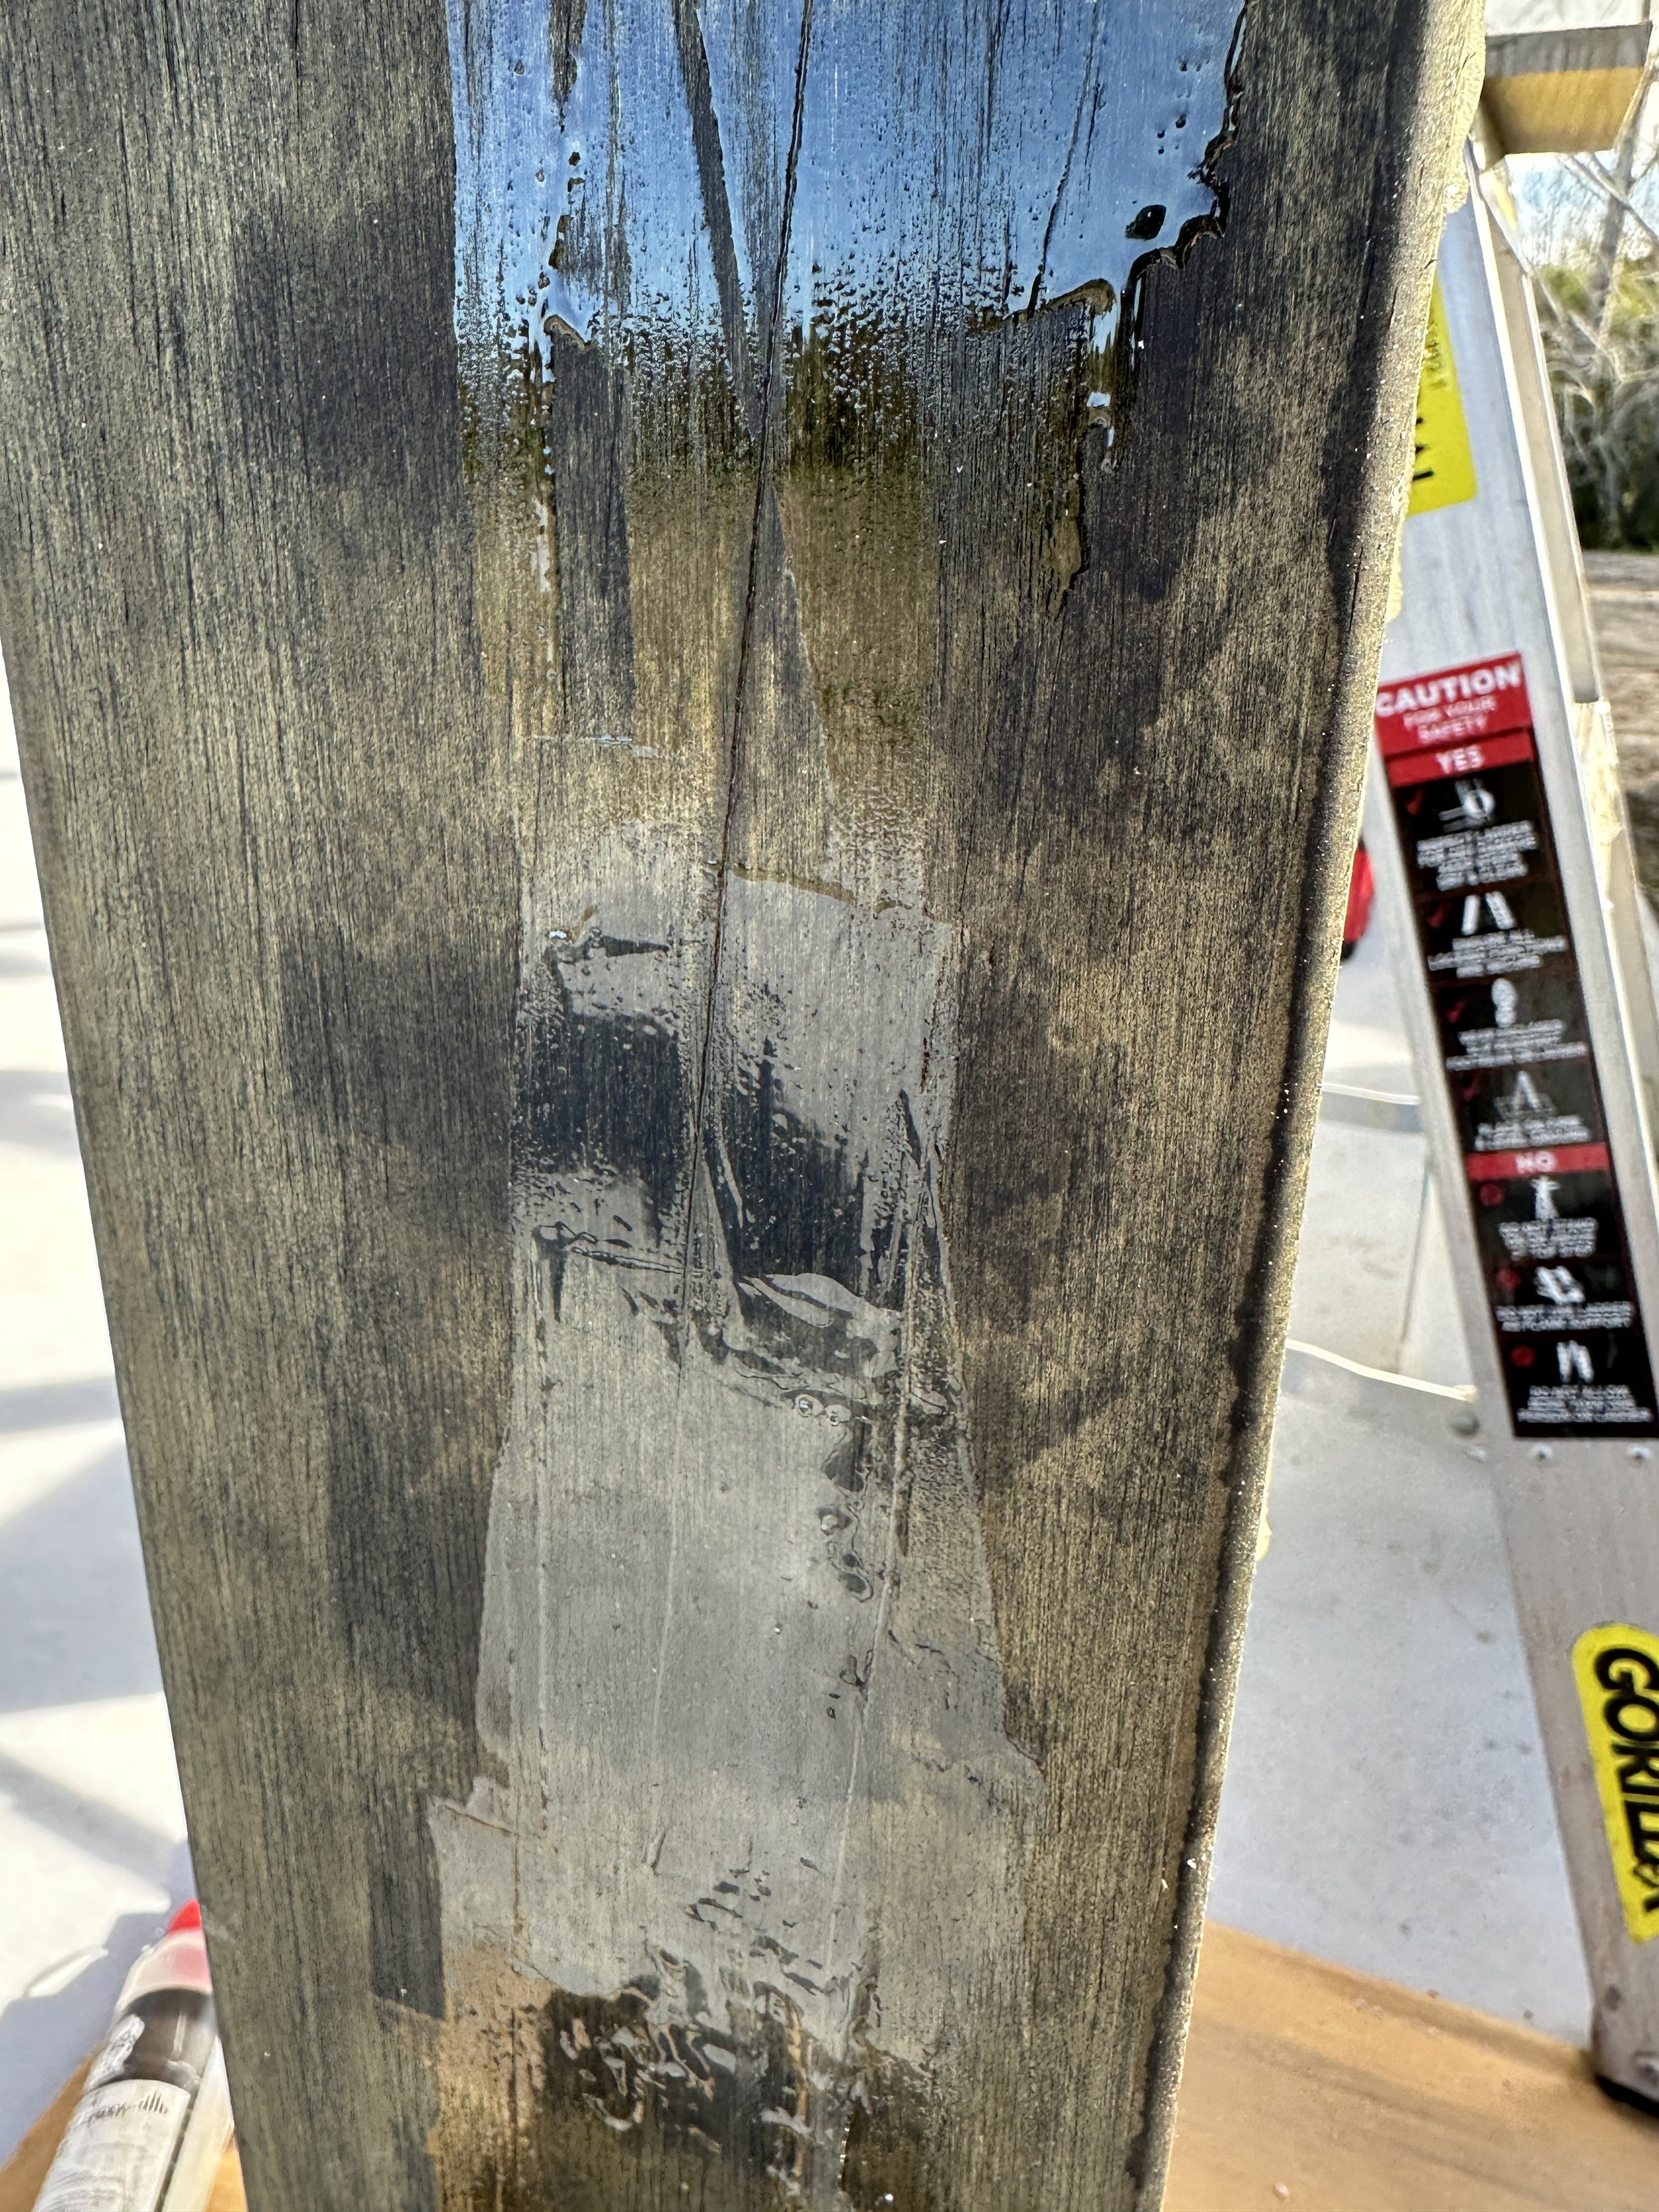
Epoxy application
Step 3 - Allow the epoxy to cure then sand
Leave the epoxy to set. For 5-minute epoxy, this is a minimum of 1.5 hours.
Once set, sand the epoxy back to bare timber. Ensure a smooth finish
Step 4 - Reapply the protective coating system to fully seal the repair
Reapply the paint, stain, or penetrating oil system in accordance with the coating manufacturer's instructions.
Pay particular attention to end grain and repaired areas where moisture ingress is most likely to occur.
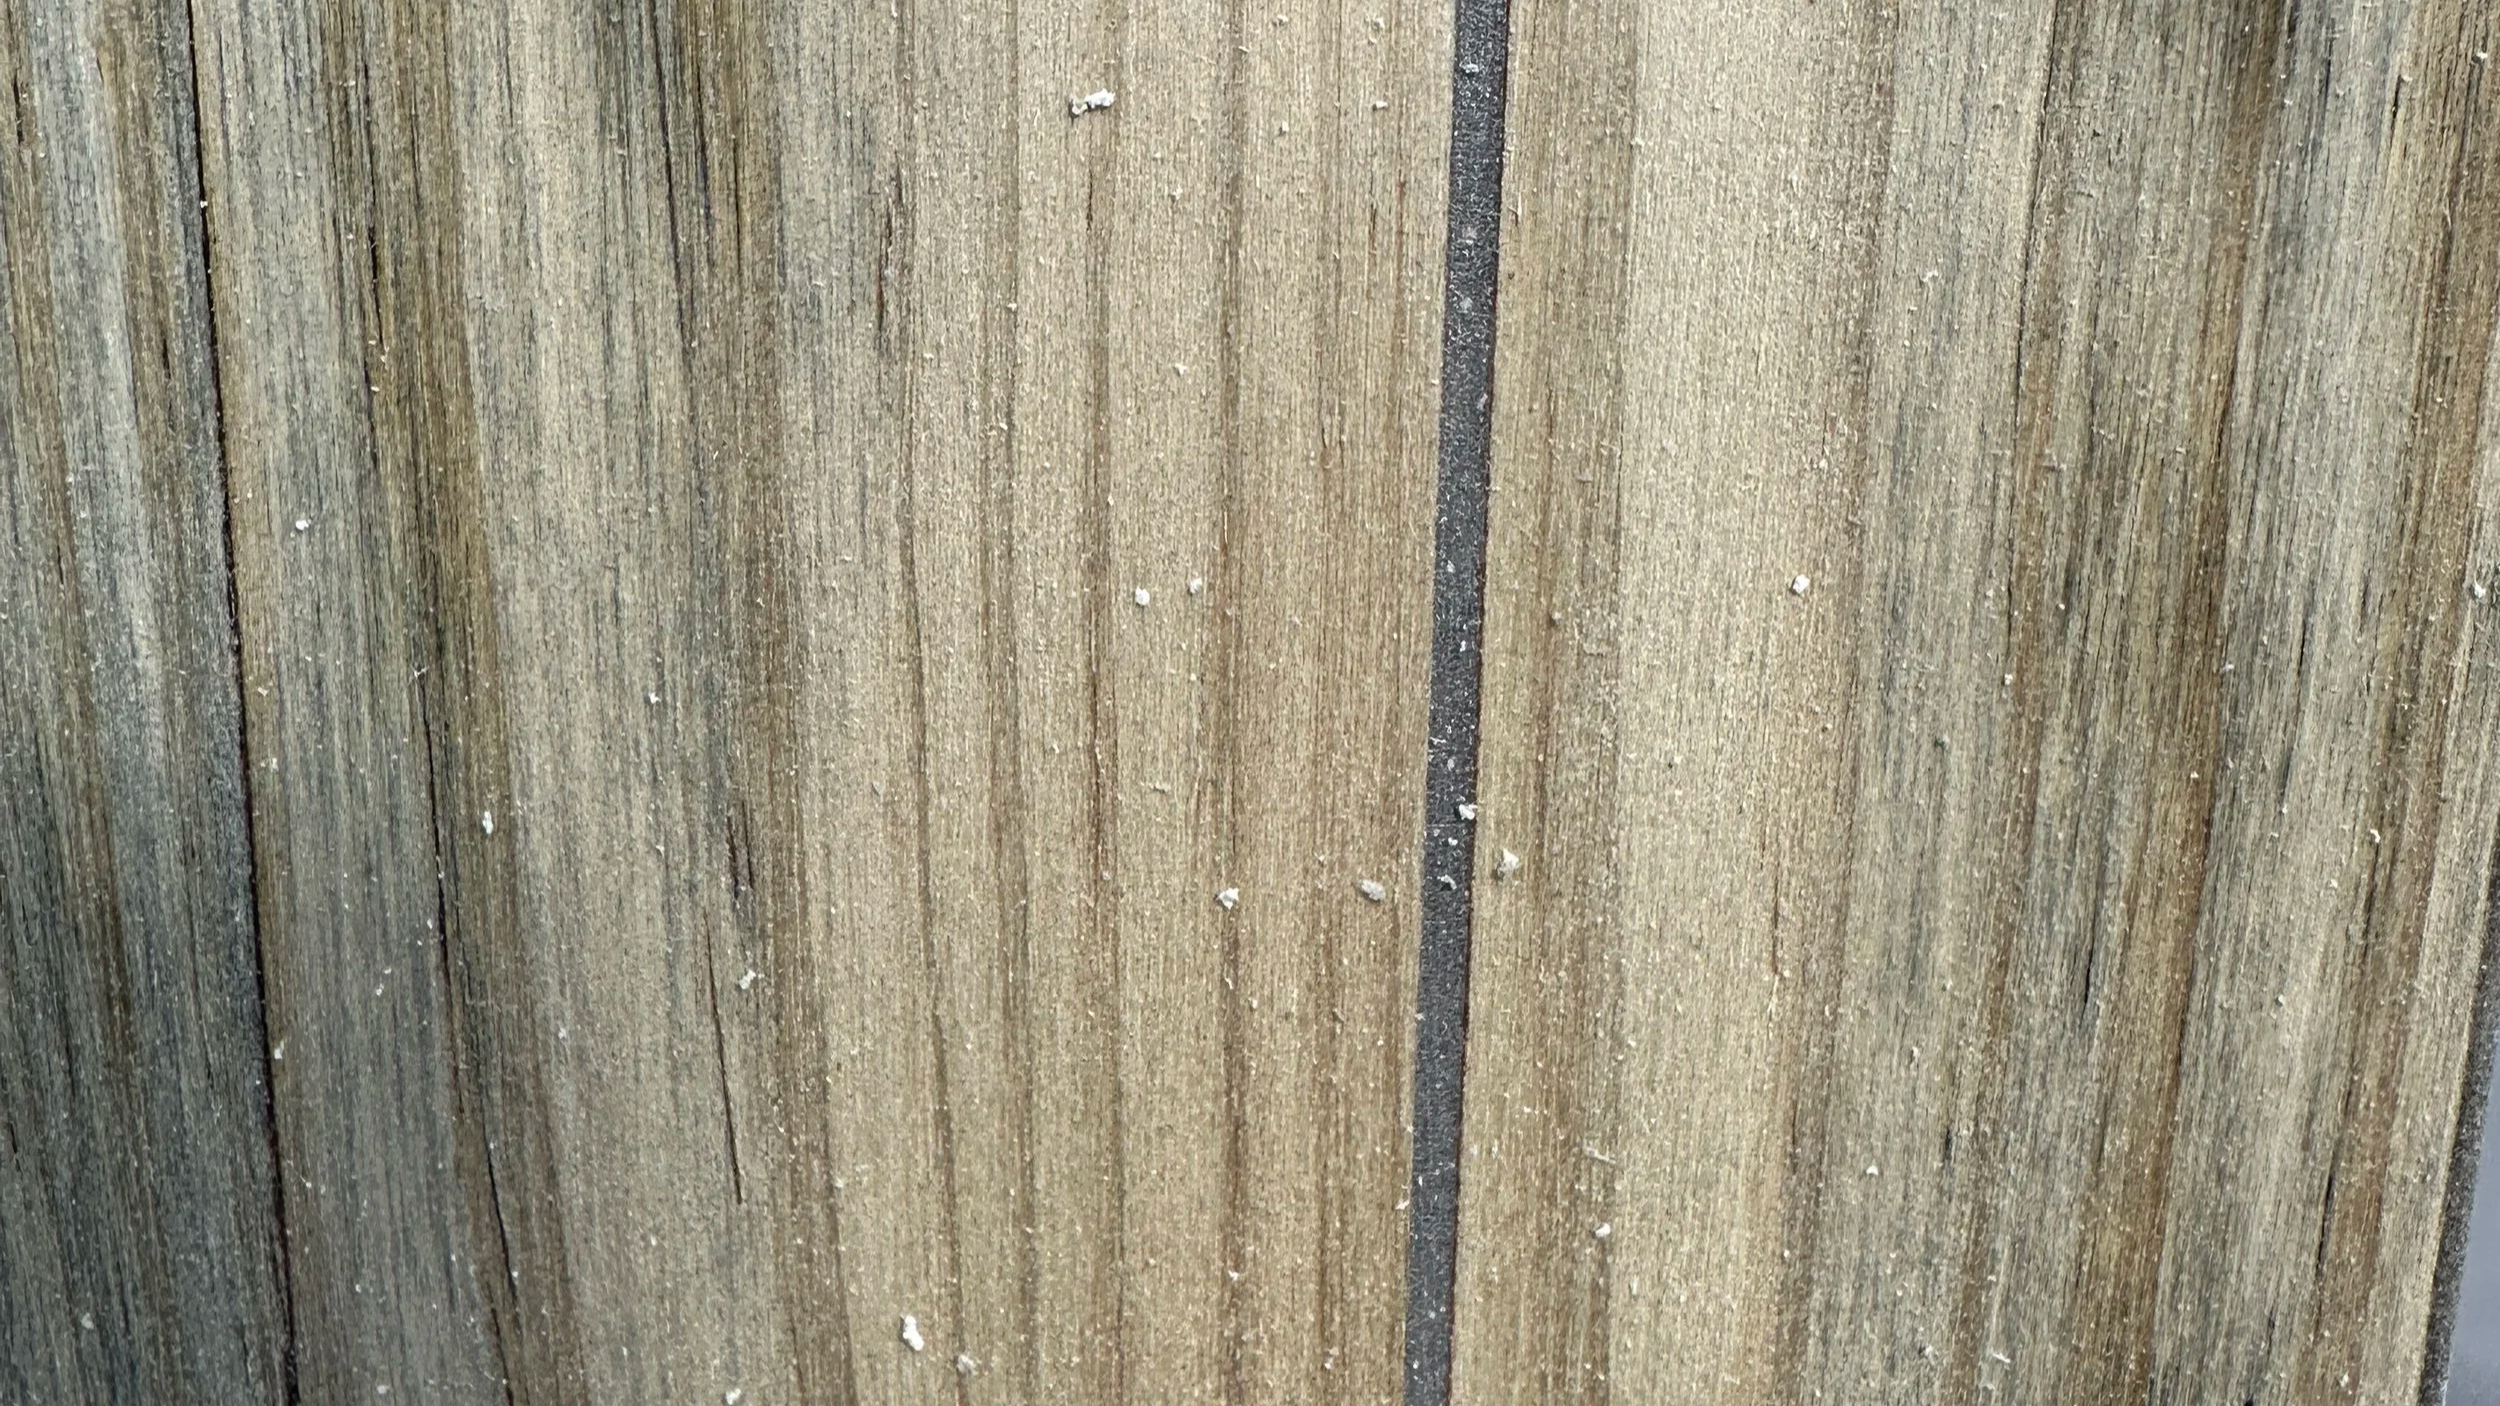
Epoxy repair close up
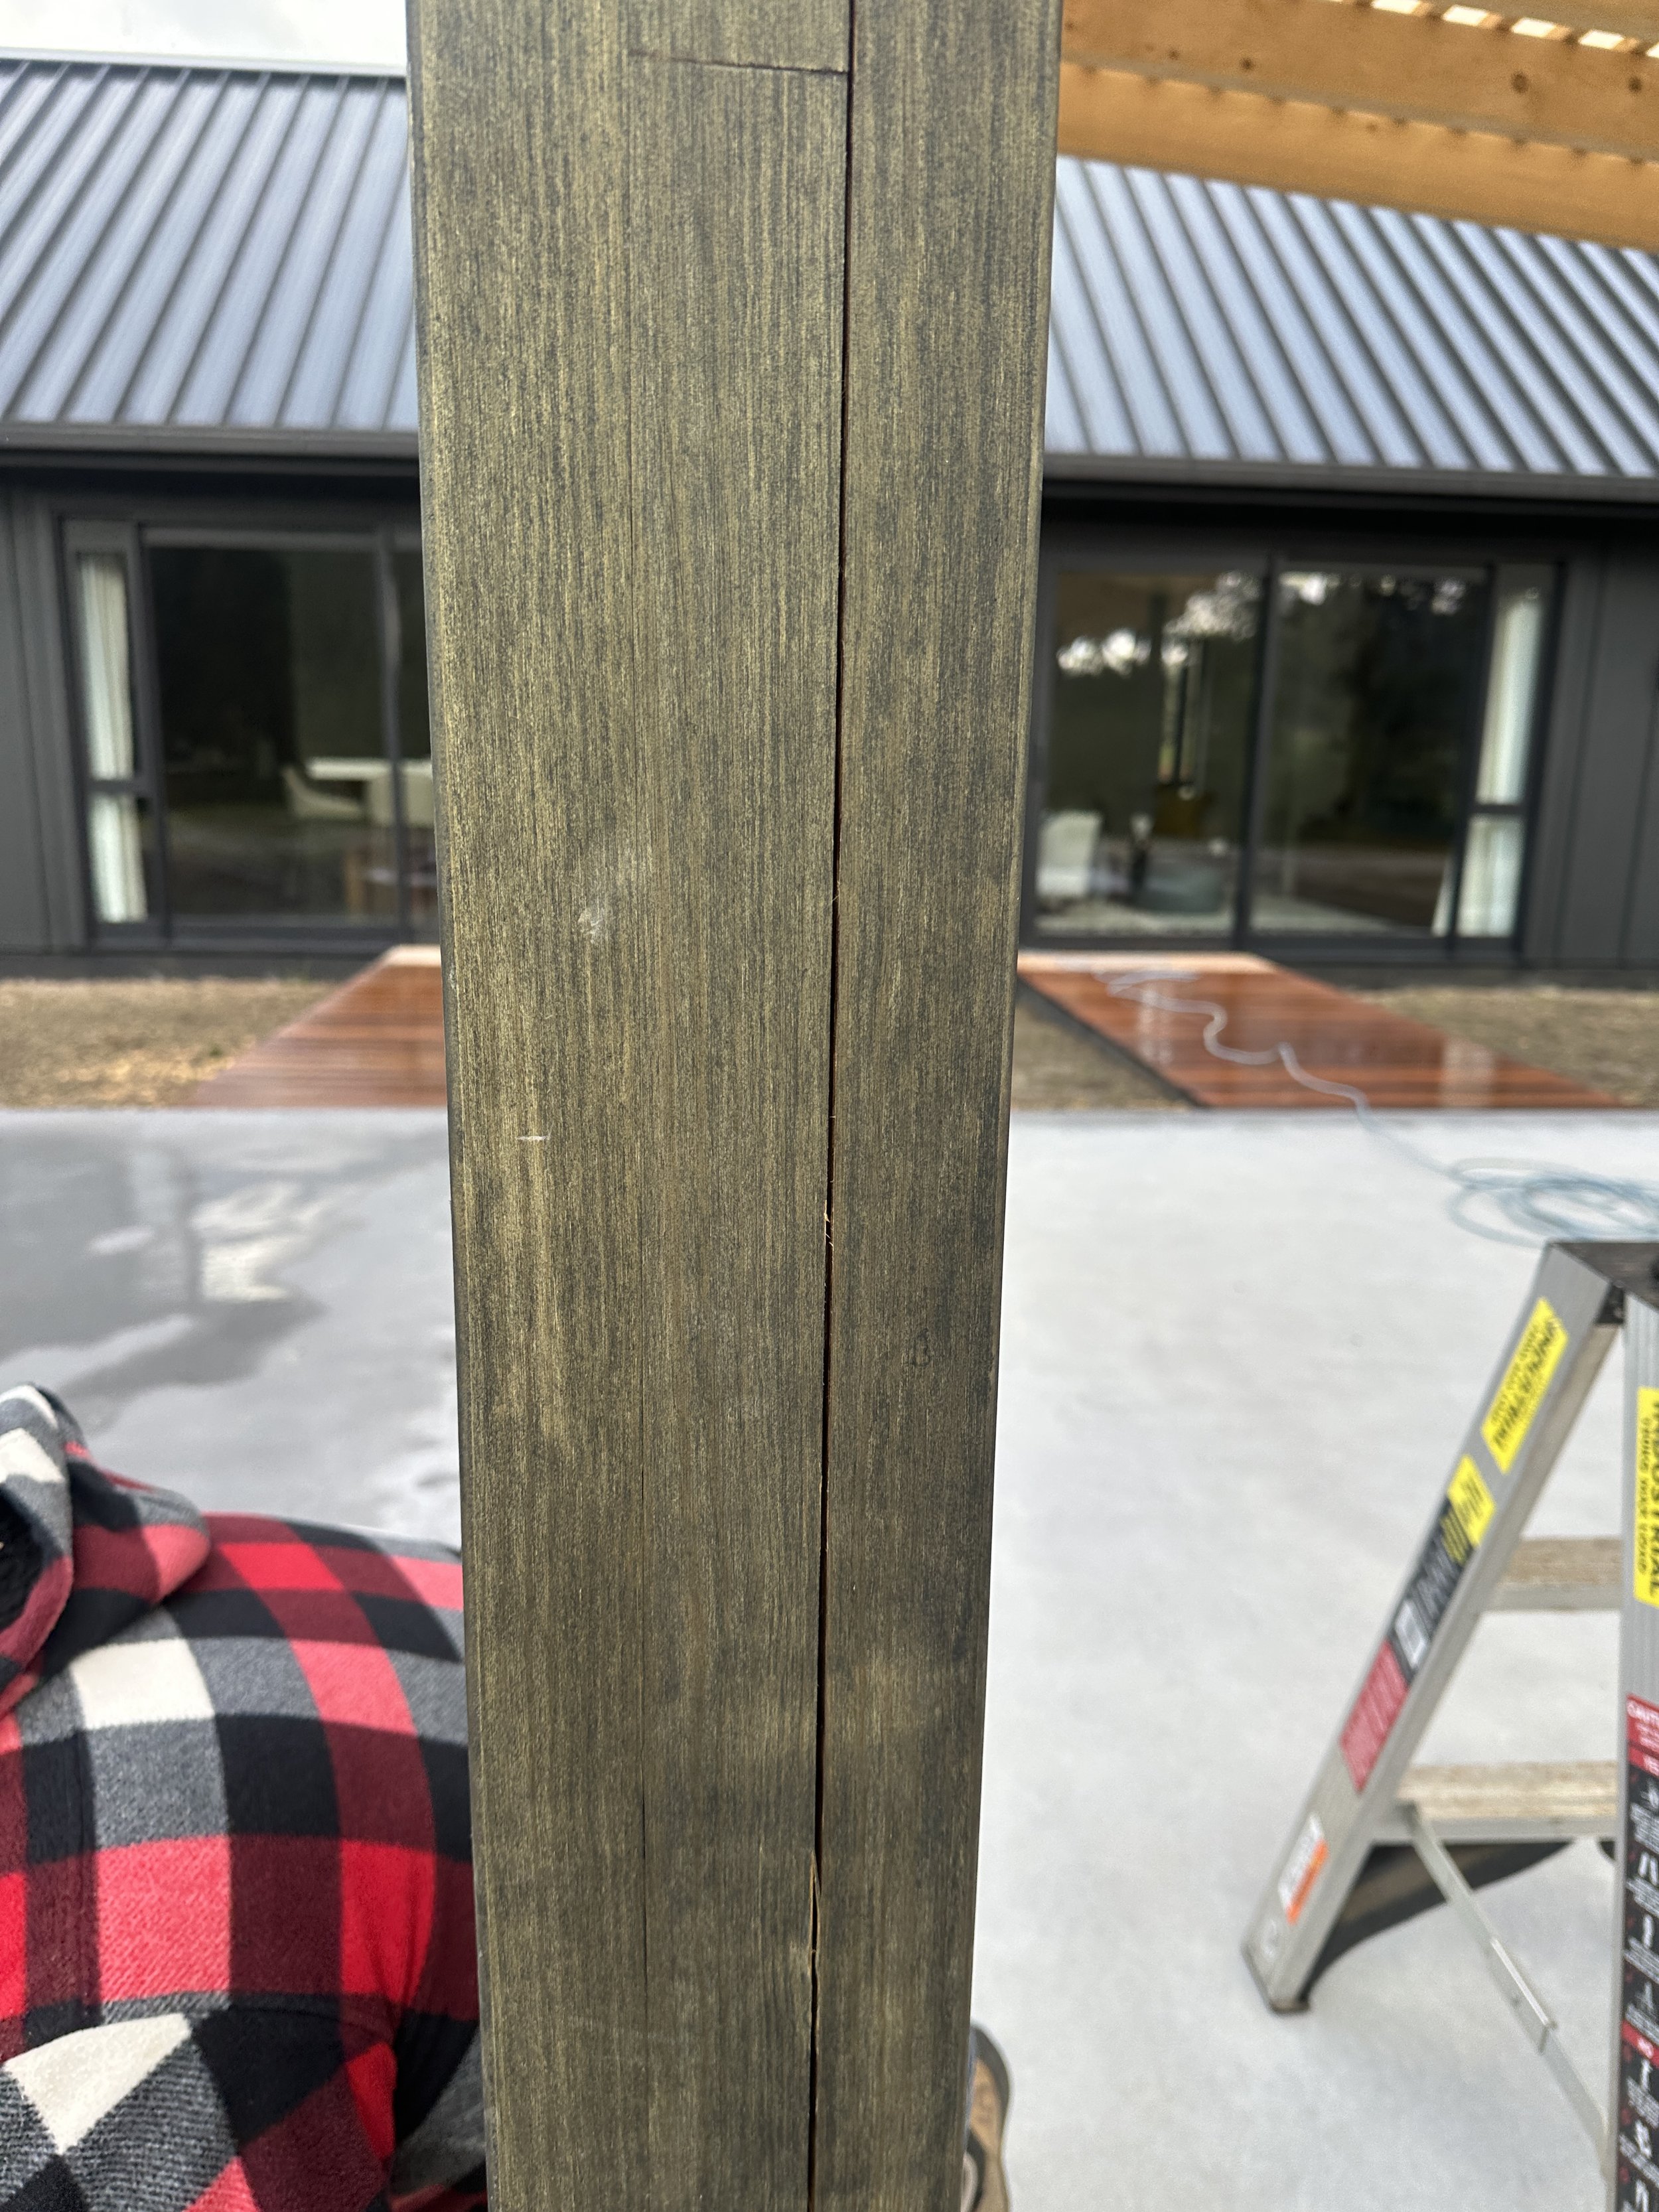
Glue line checking
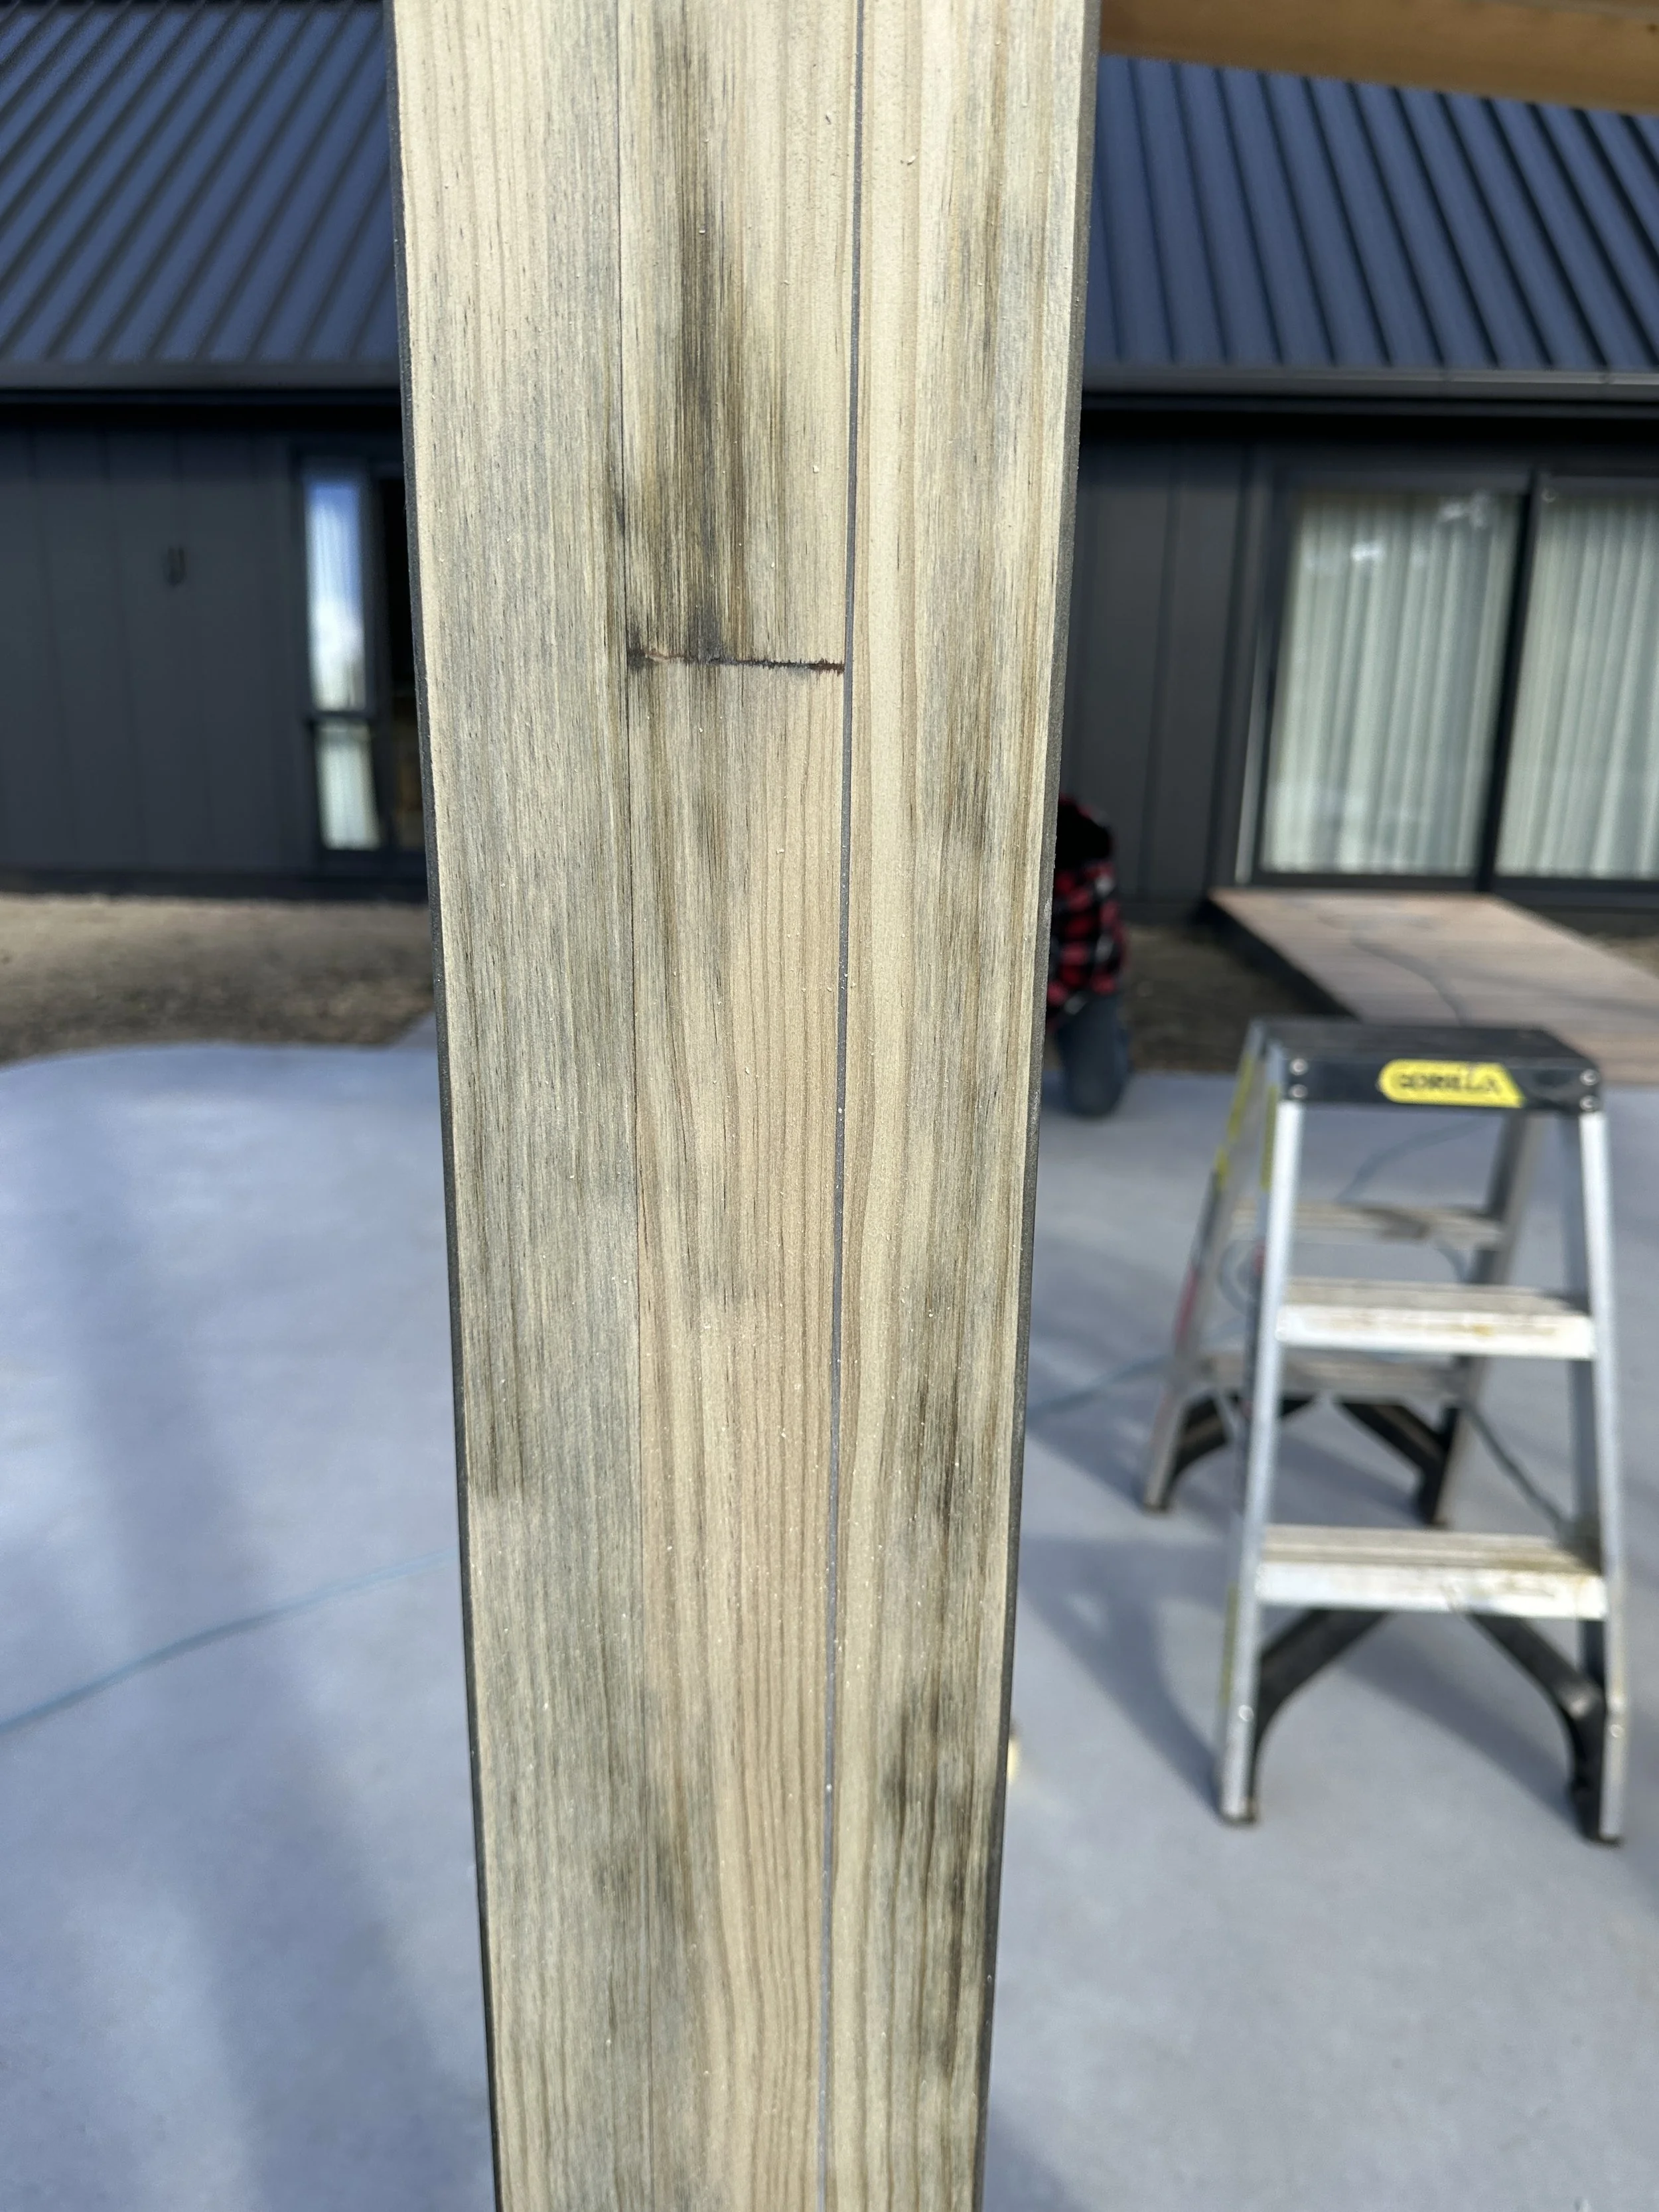
Repaired glue line checking
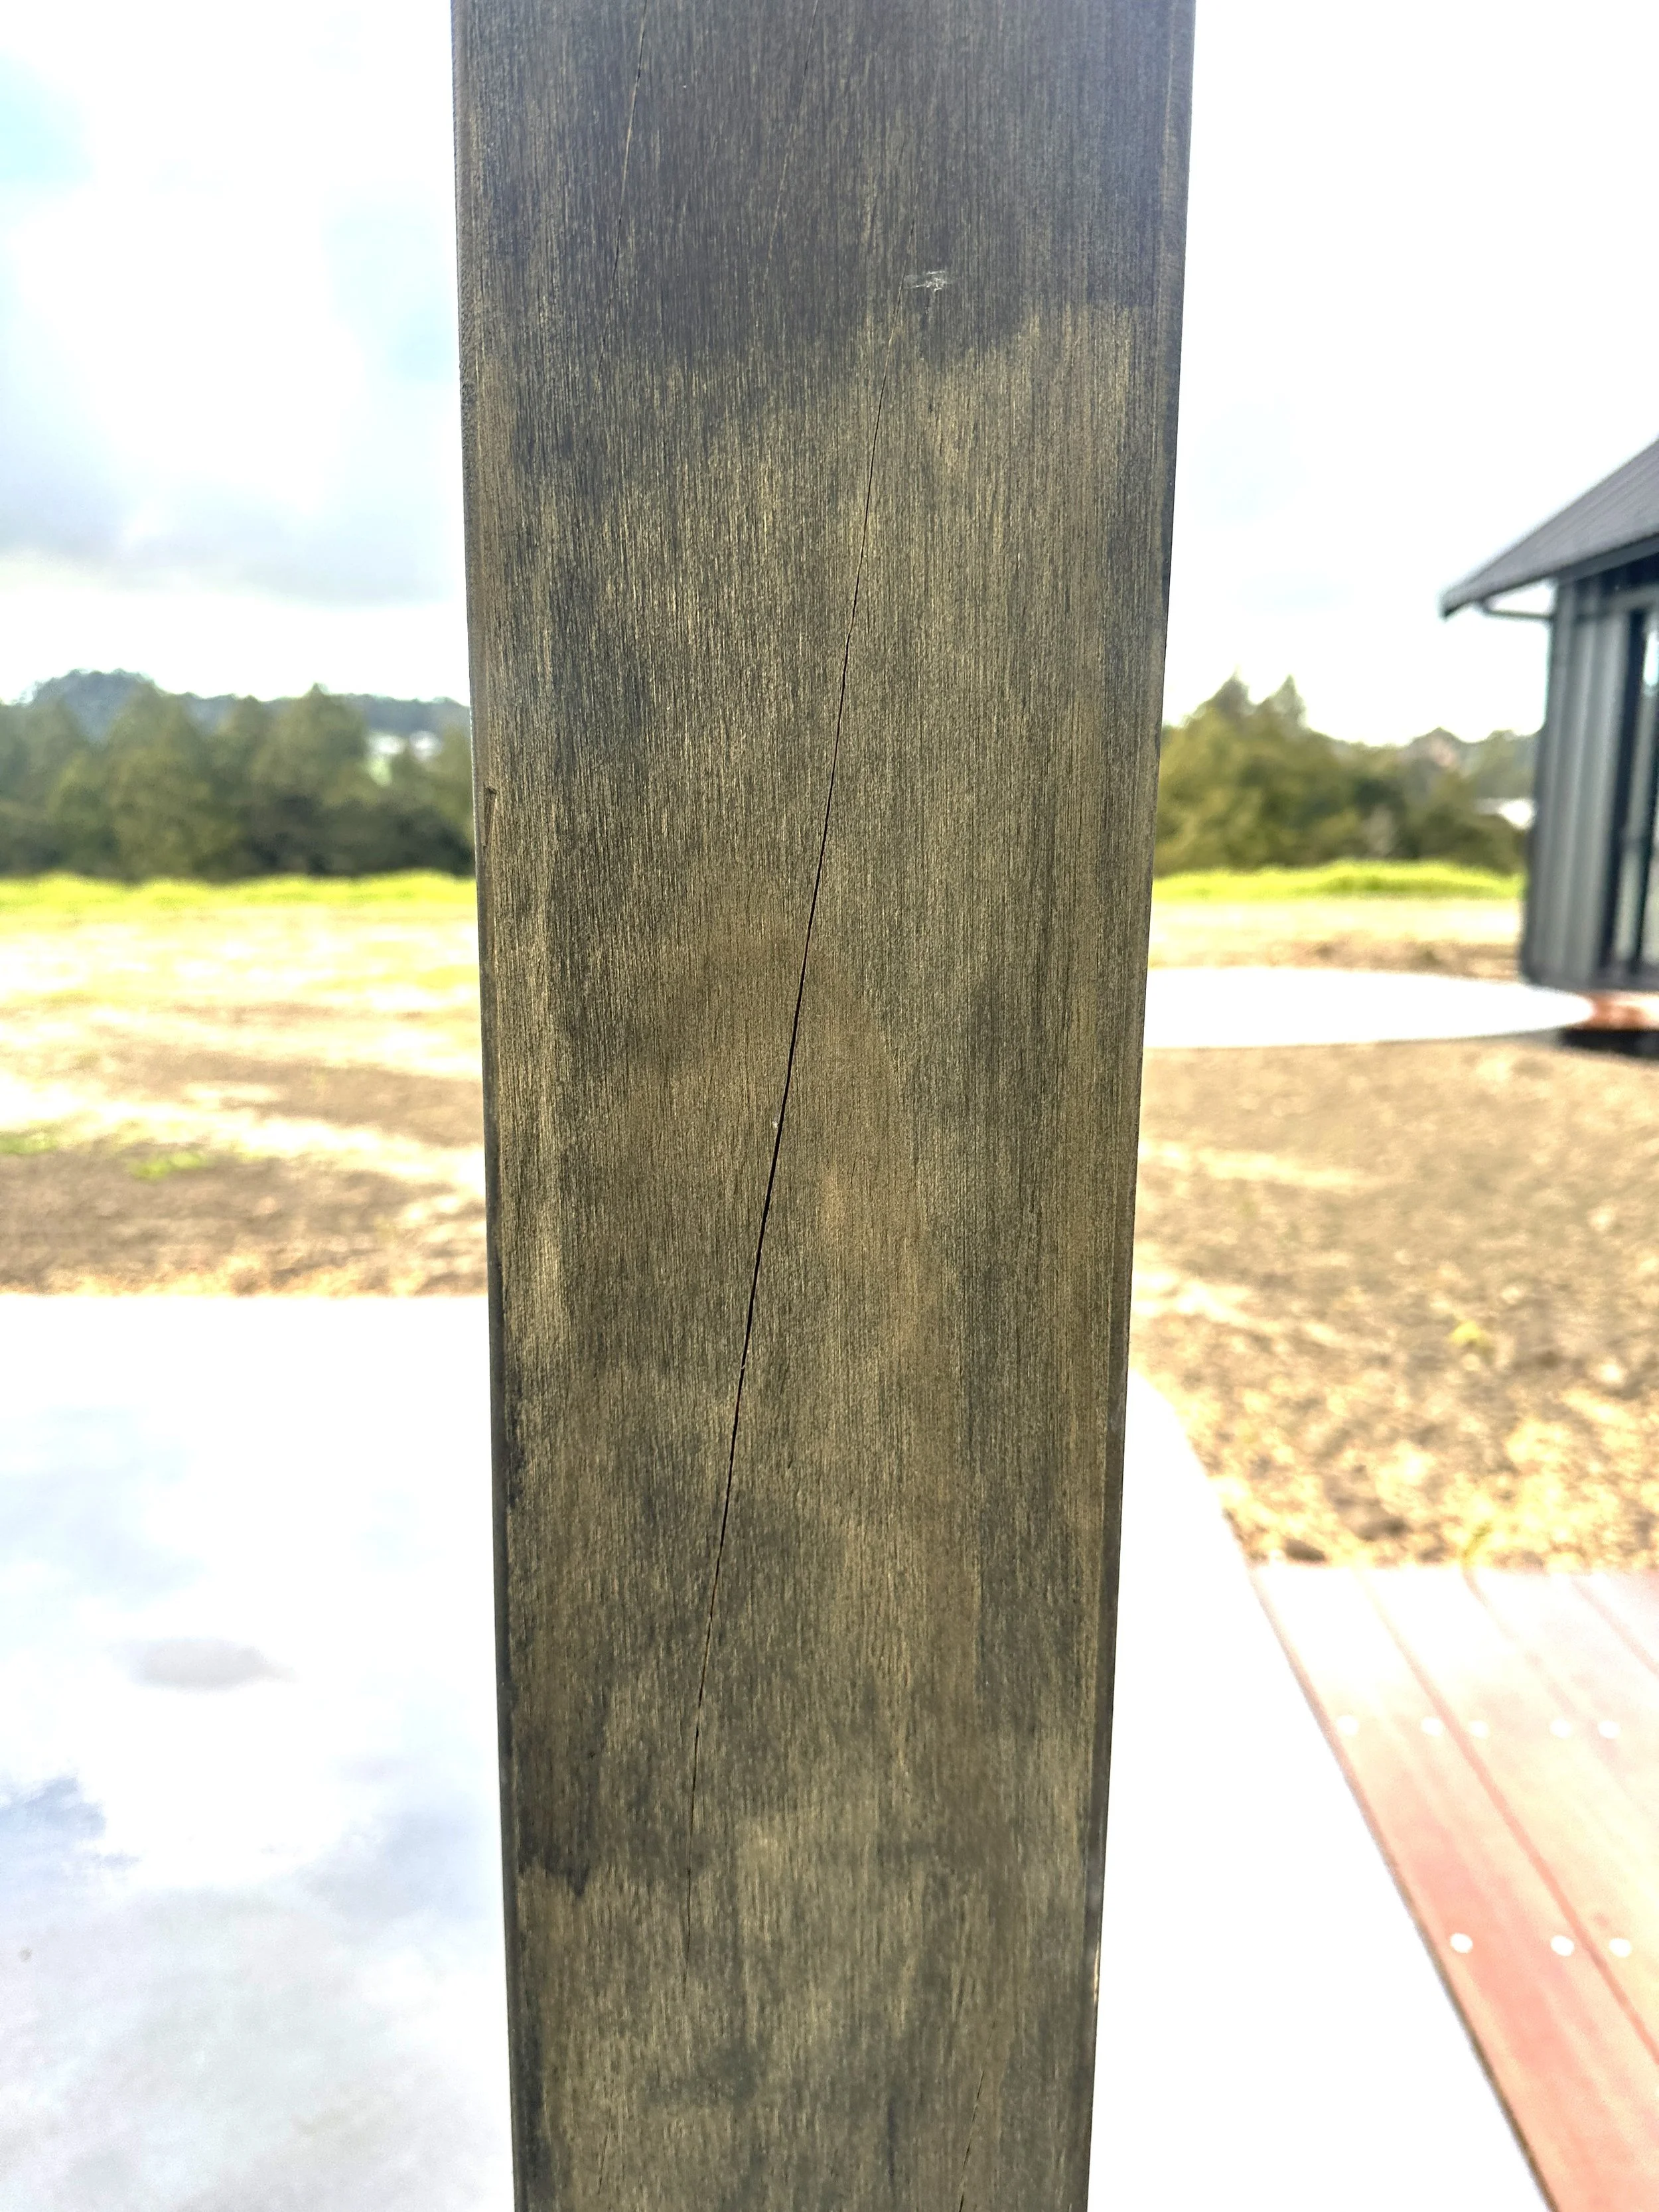
Surface or seasoning checking
Step 2 - Fill the area with a suitable epoxy
Mix 5-minute epoxy and apply over the checked areas.
Continue reapplying/spreading epoxy over the checked area as it is drawn into the gap.
A second application to fill the gap flush to the timber surface may be needed if the epoxy has set below the surface of the timber.
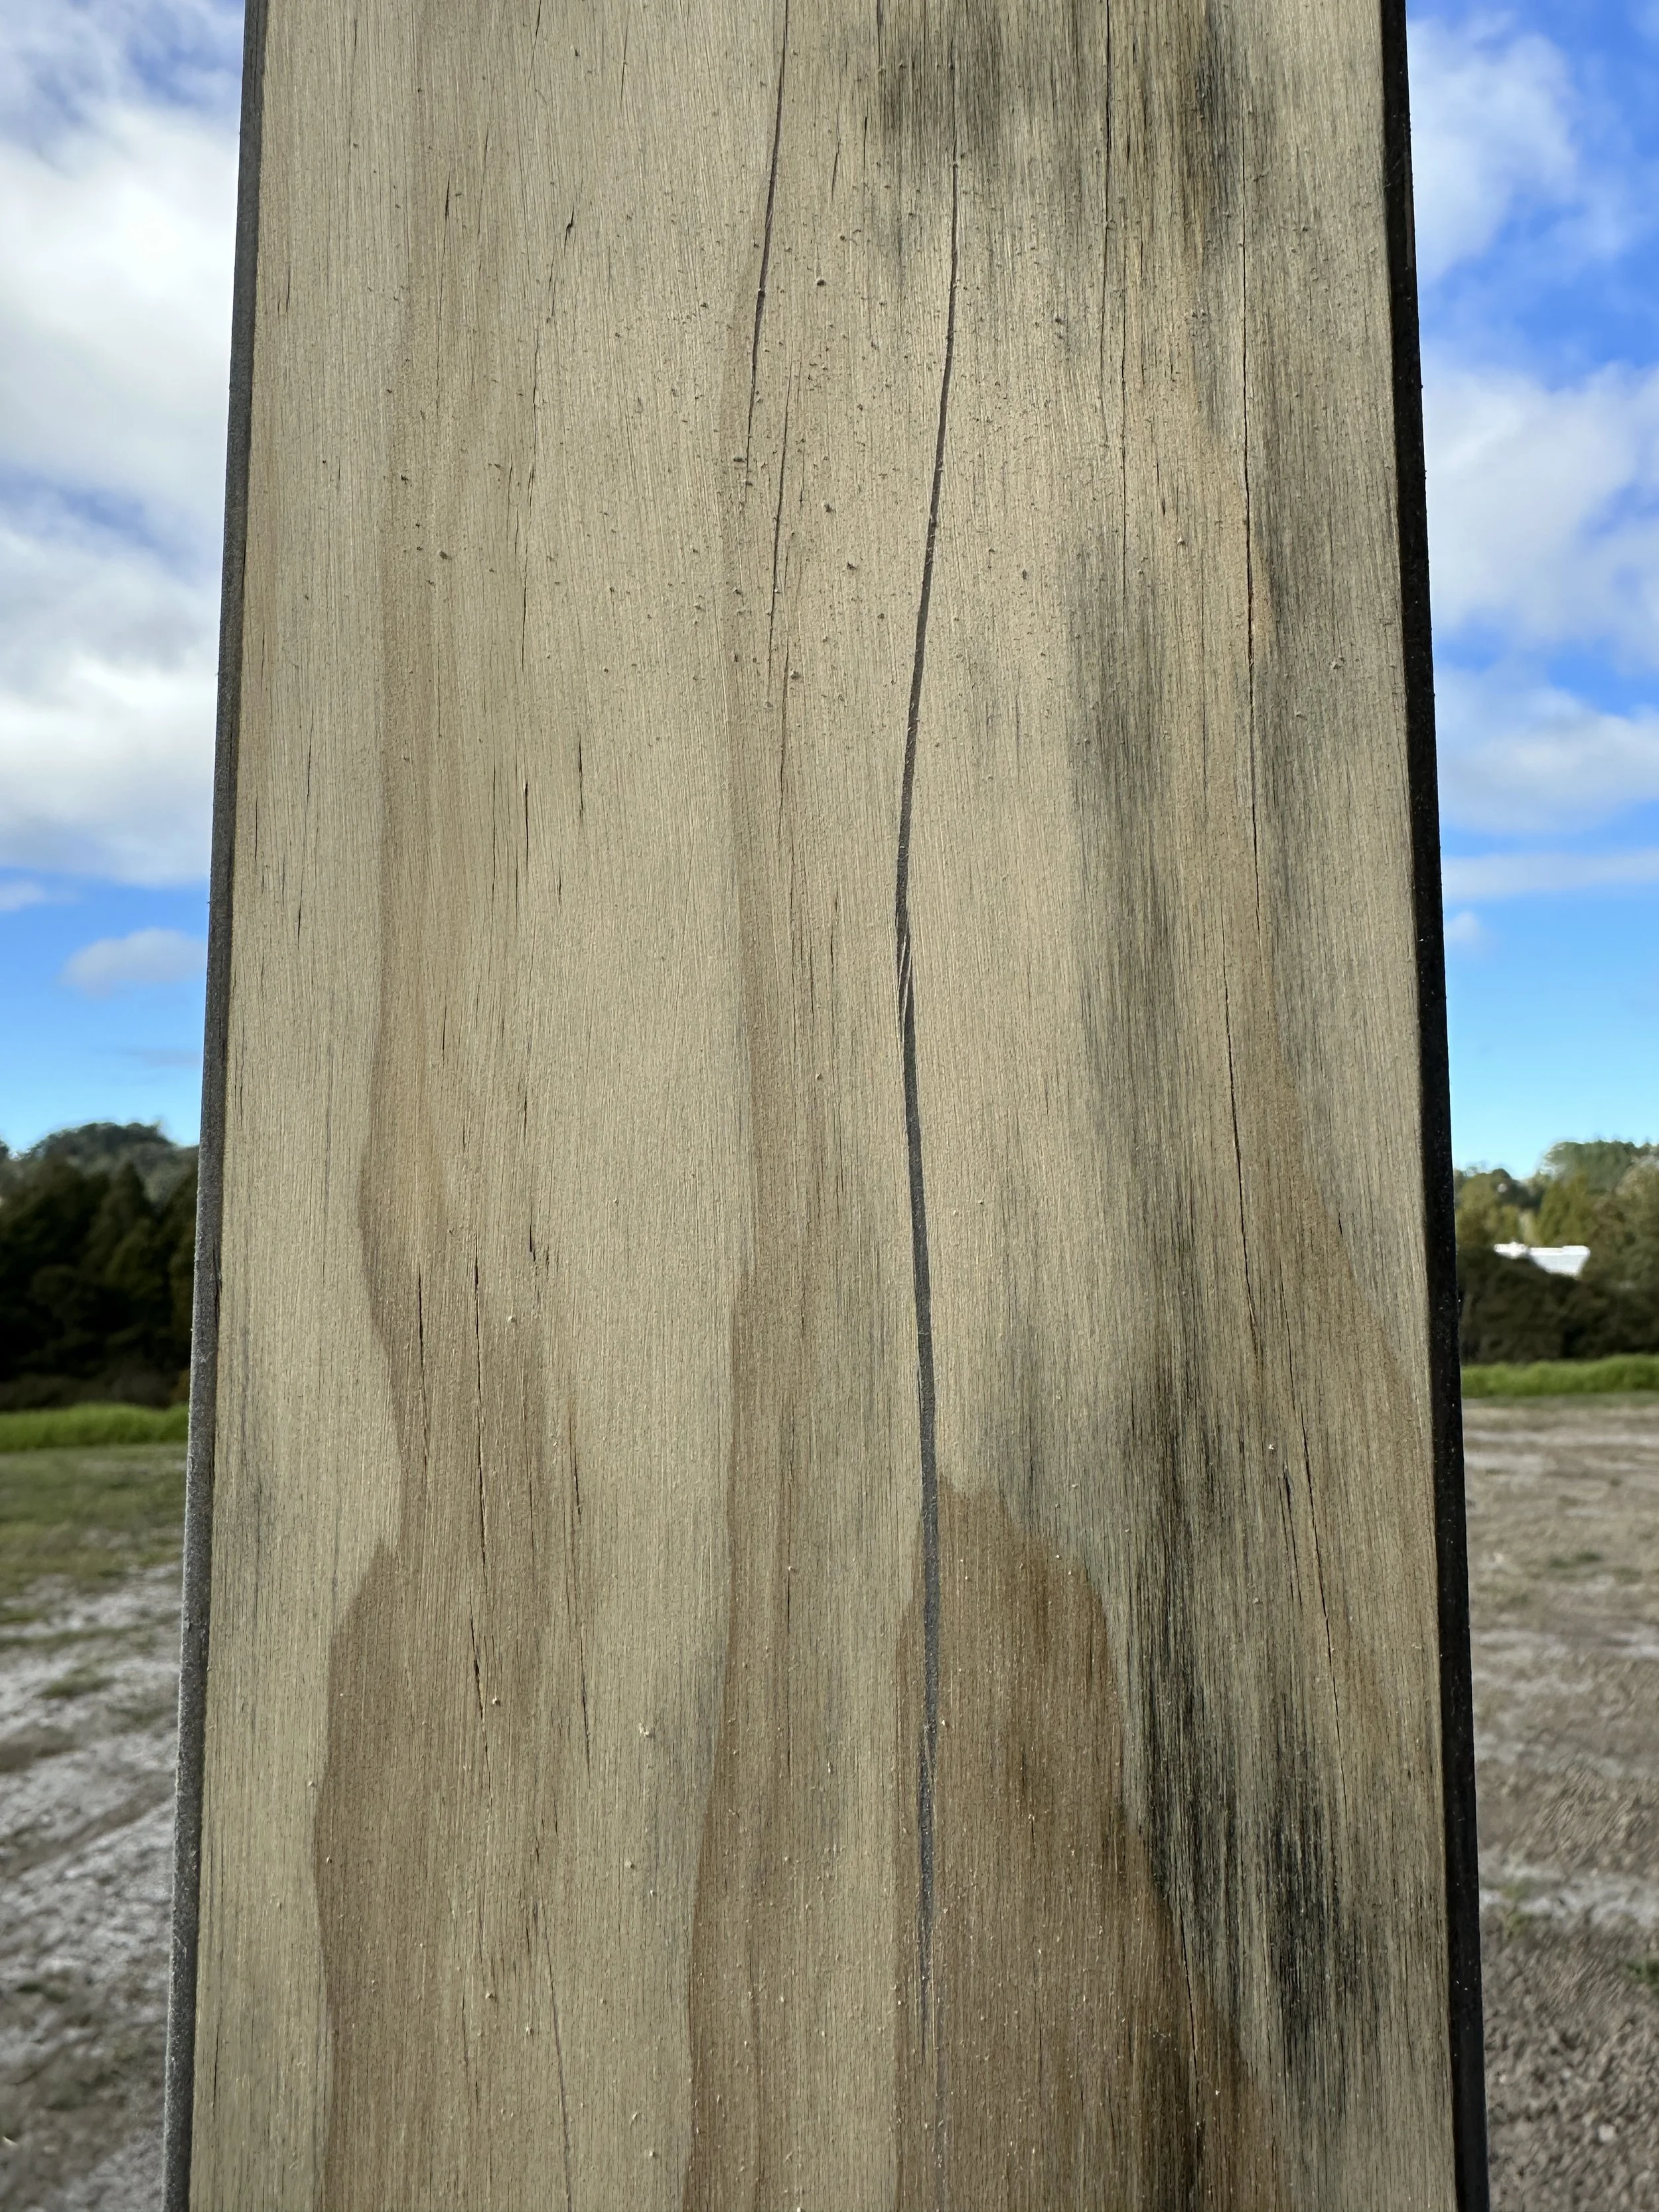
Repaired surface checking
How to repair minor timber damage
Minor localised damage can often be repaired without affecting the structural performance of the glulam timber member. Repairs should only be undertaken where the damage is cosmetic or located in areas that are not subject to high structural stresses.
Step 1 - Remove damaged timber
Carefully cut, router, or chisel out the damaged timber to get to sound material.
Step 2 - Create a timber insert
Fabricate a timber insert from compatible material to fit into the affected area.
Step 3 - Glue the insert into the gap
Bond the matching timber insert in place using an appropriate structural adhesive.
Step 4 - Sand smooth and flush
Sand the repaired area smooth and flush with the surrounding surface.
Step 5 - Apply protective coating
Reapplying the protective coating system in accordance with the coating manufacturer's recommendations.